

Inner Cave Crystals
After Work Ritual Kit
After Work Ritual Kit
Couldn't load pickup availability
We see you…
At the end of a long day, when your body has stopped… but your mind hasn’t.
Driving home, replaying conversations that didn’t quite land.
Thinking about the presentation where the message didn’t fully come across.
Being asked to do things that didn’t sit right with you.
The emails… still flooding in.
The pressure… still sitting heavy.
And then life continues —
Family, responsibilities, keeping the house together, showing up for others,
trying to be the best version of yourself…
It can feel like there’s nowhere to pause.
Nowhere to just be.
I’ve been here more times than I can count.
Different situations… same feeling.
That’s where we come in.
You don’t need to carry it all home with you.
You just need a moment… to reset.
We are your after-work exhale.
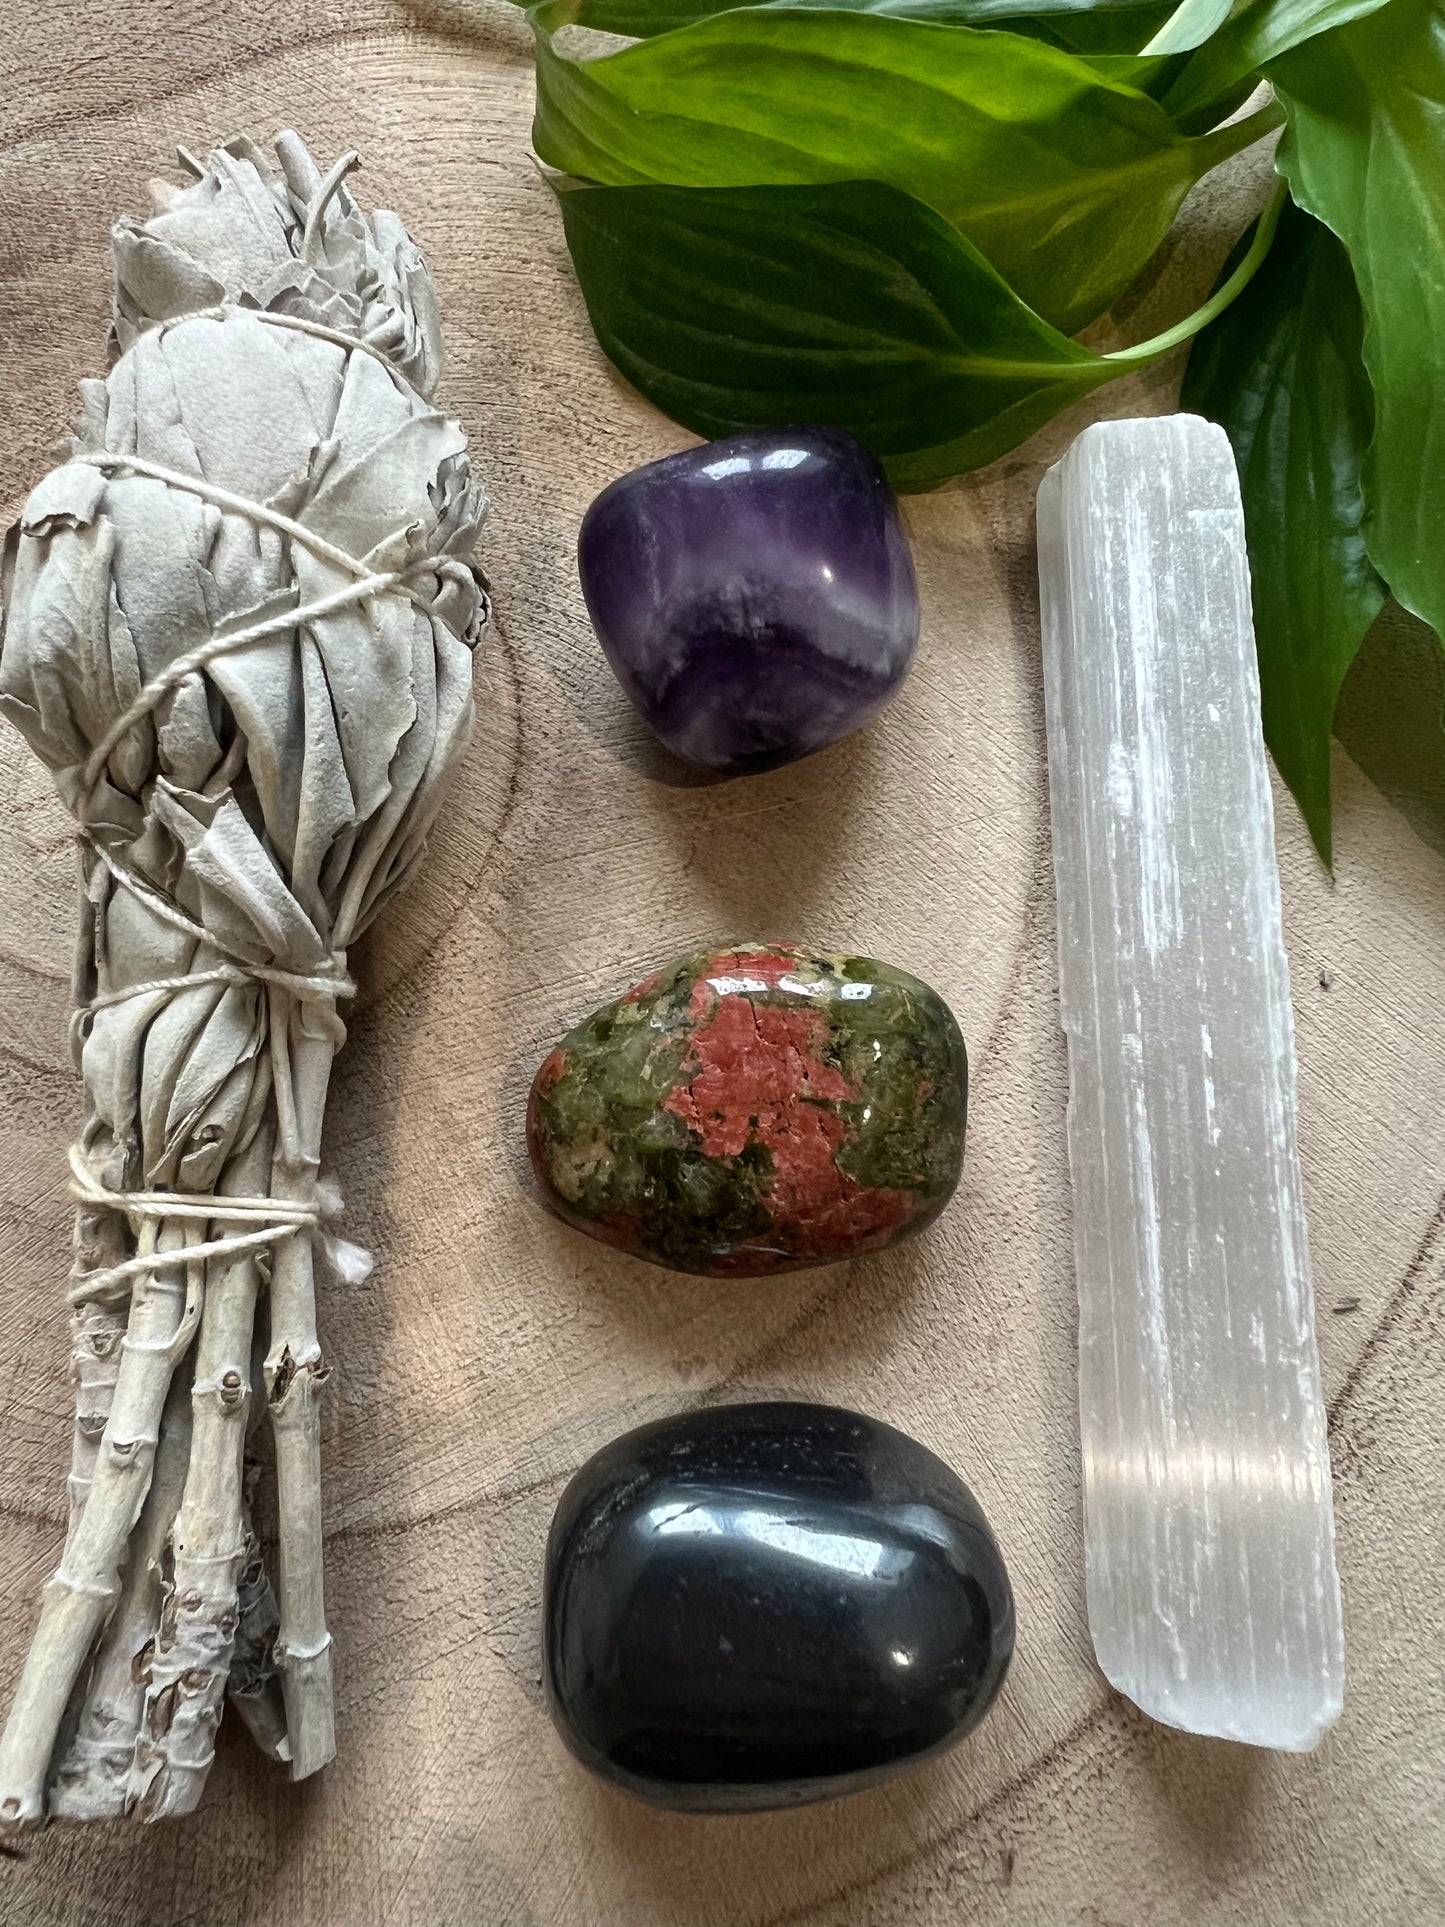
✨ I am Amethyst
I calm the noise. I soften the mental overdrive.
I help you release the day… and come back to stillness.
✨ I am Unakite
I bring emotional balance.
I gently help you process what’s been stirred… without overwhelm.
✨ I am Hematite
I ground you. I steady your energy.
I bring you back into your body… so you don’t feel scattered or erratic.
Together, we support you.
We help you let go of the day.
We bring you back to yourself.
✨ Kit Includes:
1 x Amethyst
1 x Unakite
1 x Hematite
1 x Sage
1x Selenite Stick ( please note this is raw selenite, the surface has a naturally uneven texture)
✨ Use this kit after work,
to pause and reset once you’re home…
held in your hand as you begin to unwind,
placed in your hallway to welcome calm as you walk in,
or kept nearby in the busiest spaces of your home.
This is your pause.
Your reset.
Your return to calm. ✨
Please keep in mind that each crystal is a naturally occurring element of the earth and may differ in size, shape, and surface texture. Your specific crystal may vary from the one pictured.
Share